
How Do I Create An App?
Creating an app can feel like an intimidating process but it’s actually quite easy. For our purposes we’re going to assume you are creating an app that works on mobile devices in an effort to better connect with your customers, engage prospective customers, and increase sales by integrating mobile sales and marketing features into your app. The next steps in creating your app revolve around deciding how your customers will use it. Here are some great questions to ask yourself:
What mobile devices do your customers use?
Do the majority of your customers use Apple products (iPhone, iPad, iWatch, etc…), Android, or a bunch of different devices? This will help you figure out what operating systems to build your app on.
Are you going to sell items in the app?
AppScholar comes with a wide variety of options and is very versatile. You can build a shopping cart inside of your app using our CMS shopping cart or integrate your app with your existing shopping cart. The best idea is to sell items that are exclusive to your app so that your customers will download, retain, and use your app for their future purchases. This will help you drive sales with your push notifications (which we’ll talk about later).
Are you going to give your customers a voice?
AppScholar gives you a lot of options with allowing your customers to connect with you. You can add in your own in-app social network, in-app social wall for customers to post pictures and comments to, and chat. You can let your customers share the love for you, your business, or service and grow new customers off of this advocacy.
How are you going to engage your customers with promotions?
AppScholar is great because it allows you to create quizes, surveys, customer loyalty cards, coupon codes, and more. When developing your app it’s best to figure out what the primary method of engagement is going to be with these promotions so you can be clear on what to promote in all channels.

Once you’ve decided on the best way to move forward after answering these questions then please follow these steps in creating your app:
- STEP 1: Navigate to the AppScholar App Creator
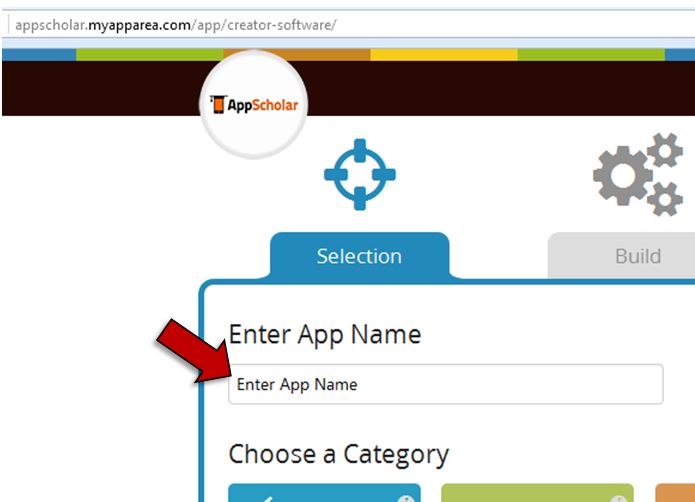
- STEP 2: Enter your app name
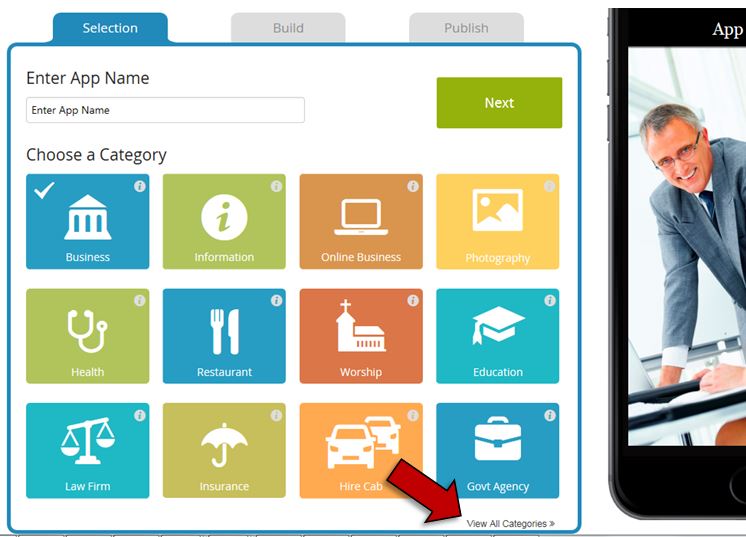
- STEP 3: Chose a category that best fits your business. Don’t worry, you’re not stuck in the features pre-selected for the category that you choose. You can add and delete features as you choose. It is just a starting point for your industry. Note: Click on the “View All Categories” link to see all of the choices.
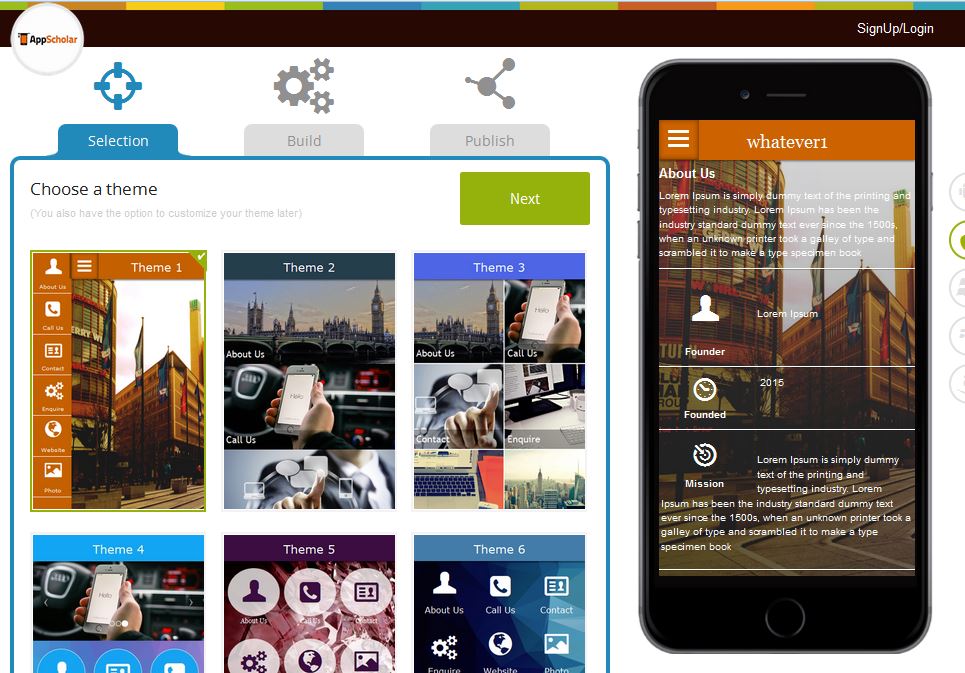
- STEP 4:Choose an app theme from our pre-made app menus. Note: Remember that the backgrounds, icons, menu text, etc… are all customizeable so whatever layout you chose can be modified.
- STEP 5: Fill out your pre-selected app pages or get rid of the app pages that you do not want. Add additional app pages and features as needed by clicking on the
 button.
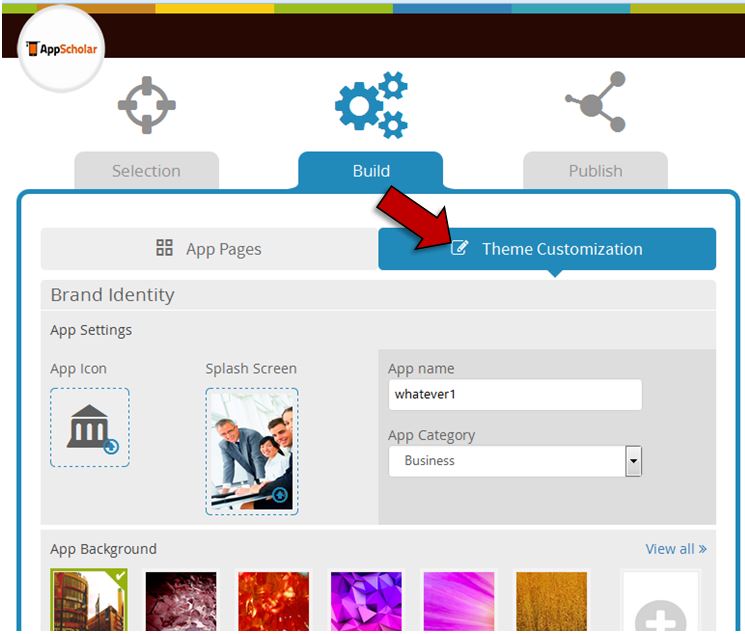
 - STEP 6: Select Theme Customization from the menu to customize your app colors, logo, background, splash page, and more.
- STEP 7: Click on Publish menu tab, create an account or login, select your plan, and we’ll publish your app.

Perfect! You’re done. You’ve just created your own app with no coding skills. Check the app stores for your app in about one week’s time (it’s usually faster but we like to under promise and over-deliver).